metal hair comb
sturdy ribbon about 3/4"thick
beads: pearls and silver seed
pre-made veil in a box for $14.99 (or you could buy your own tulle to save more money)
Other things I needed but had at home included:
beading supplies (wire, crimp beads, wire cutting tool and crimp pinching tool)
hot glue gun and glue sticks
I did a trial run with the bachelorette veil first. For that I used the plastic hair comb that came with the bridal veil, a yard of neon pink tulle, pink zebra print ribbon to go at the bottom edge of the veil, and a variety of pink beads to string around the top of the veil where the tulle meets the clip to give it a jeweled effect. Here is the finished product, sorry, I don't have a picture of the beading.

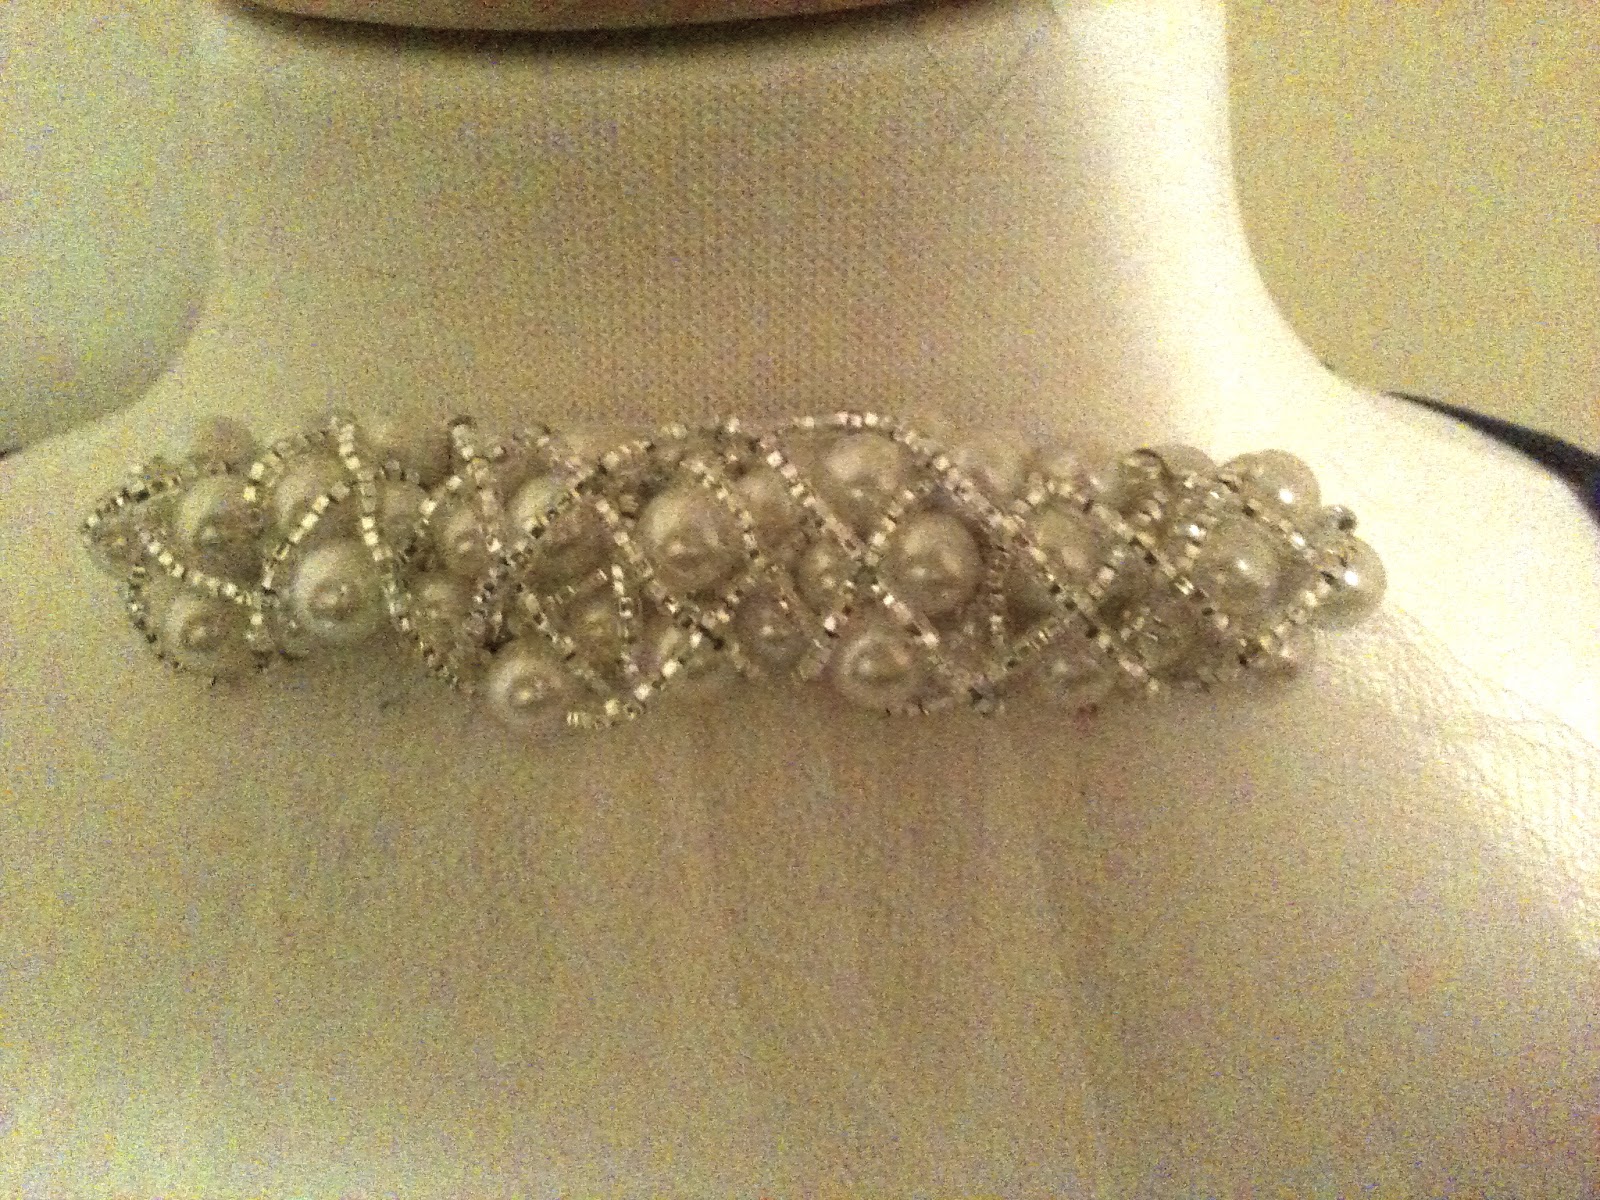
Next I tackled the real thing-- the wedding veil. First, I attached the veil to the clip, then I strung beads around the connection between veil and clip using beading wire which easily threads through tulle. To ensure that the beading wire stayed in place, I used a hot glue gun on the back of the clip and concealed it with that sturdy white ribbon. Below is a close up of the clip.


No comments:
Post a Comment